


DIY Easter Craft with your kids - Marbled decorative eggs
Our favourite Easter craft project, who doesn't love a painted Easter egg? Read on to find out just how easy it is to get ‘egg-cited’ and cover empty eggs with a pretty marbled effect to decorate your Easter table or use as markers for a chocolate egg hunt.
To make marbled eggs, you’ll need…
Fresh white eggs
Disposable roasting tin
1 can of shaving foam
Food colouring gels in various colours
Skewer or toothpick
Kitchen paper
How?
1. Holding each egg still, carefully tap and push a hole in the top centre of it with a safety pin. Once you’ve made the hole, carefully push one end of the pin in as far as it will go to widen it.
2. Take a toothpick and insert it into the hole, then stir it around to help break up the yolk and make it easier to remove the insides.
3. Flip the egg over and make a second hole on the opposite end with your pin. Try to make the hole on the bottom a little bigger but be careful not to crack the shell! Break up the yolk again with your toothpick.
4. Hold the egg over a jug with the bigger hole facing down. Use a straw to flush out the contents by placing the tip of the straw over the hole and blowing hard. Then wash and leave to dry.
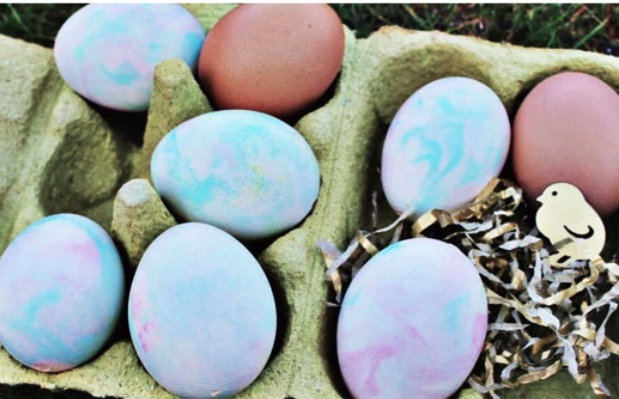
5. Cover the base of the roasting tin with shaving foam. Sprinkle over drops of food colouring gels in your chosen colours and use a skewer or toothpick to marble the colourings into the foam slightly. Bright neon food colourings produce a stronger end result, while pastel colourings result in more delicate patterns.
6. Roll each eggshell all over in the foam, place on kitchen paper and leave for 20 mins. Wipe off all the foam and use to decorate with paint, pens, stickers, felt, glitter or whatever else takes your fancy!